DIY Black Tulle Skirt
Jan 15, 2016 | By: ©Laurie Brown
I like DIY projects. I felt my prop closet needed a black tulle skirt, so I had a choice: buy one made by someone else, or make my own. Whenever I find myself in this situation, I usually go the DIY route. It makes no sense because it's often more expensive, and always very time-consuming, but in the end, it satisfies my need to create, and I can make it exactly how I want!
There are many tutorials out there on how to do this. I AM NO EXPERT - full disclaimer!
For this skirt, I decided to make it easy on myself and do a bit of a cheat version. Check out my pink tulle skirt (future) post if you'd like to see the intense-dust-off-the-sewing-machine-and-get-ready-for-hours-of-tedious-labour version. Otherwise, read on...
I bought the following supplies:
25 yards of black tulle (note: I totally did not need this much, but now I have a bit extra if I ever decide to make a baby version ;))
black thread (okay, I forgot the black thread and could only find navy in my stash, so I called it "good enough" and went ahead with my project)
black satin ribbon (long enough to wrap around my waist and tie a bow)
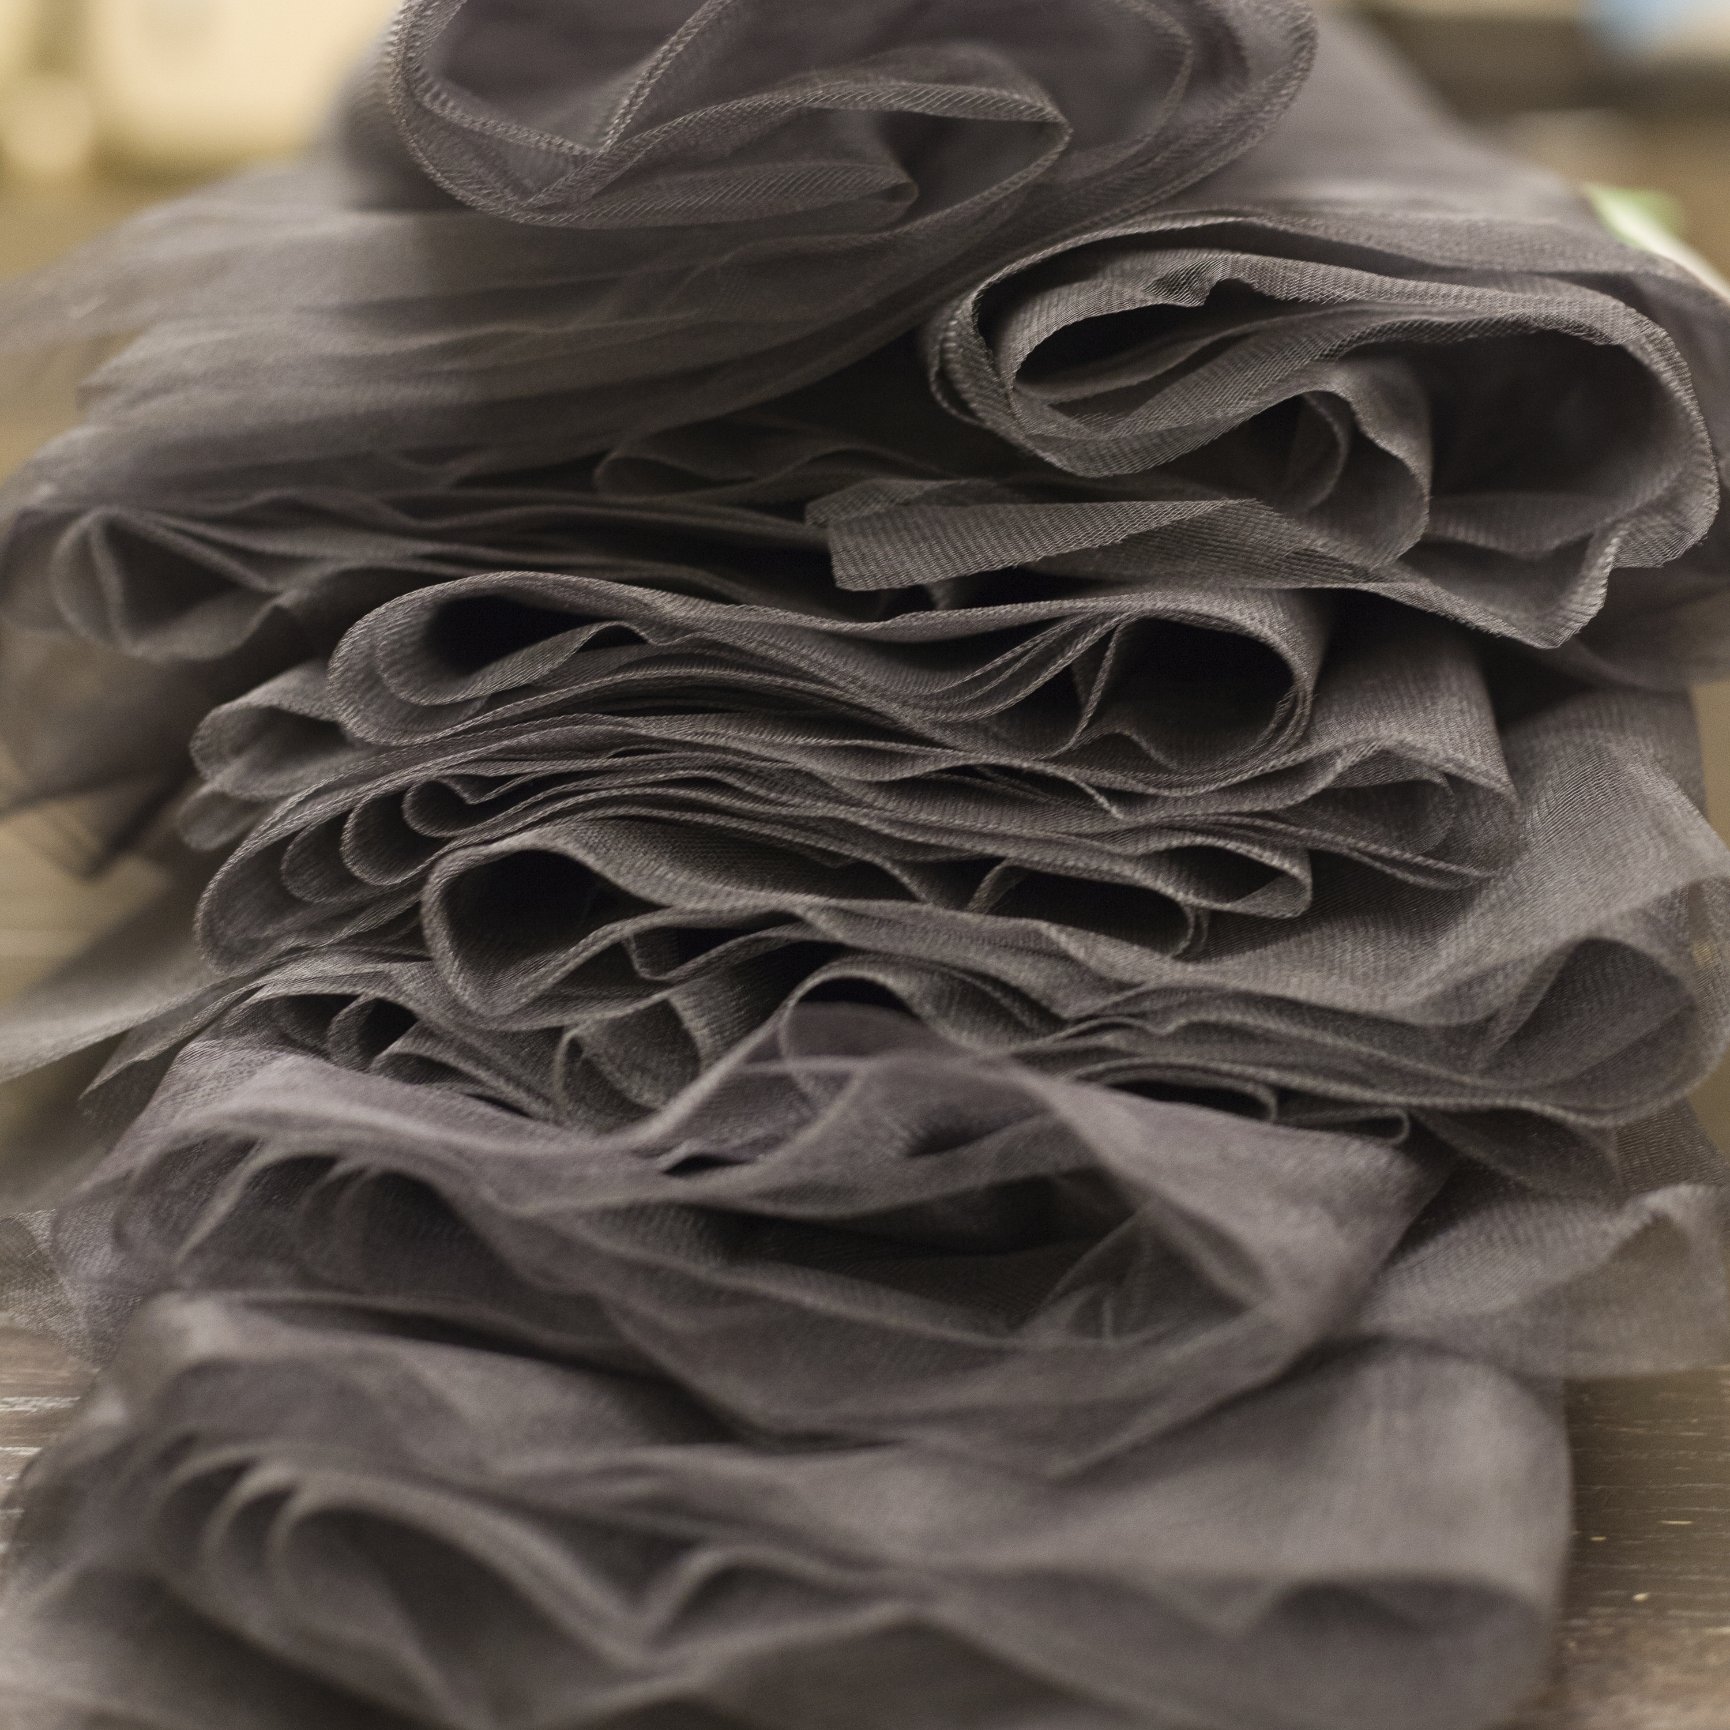
The remaining supplies were items that I already had at home:
fabric scissors
measuring tape
headpins
a sewing needle (or sewing machine)
scotch tape (actually, I found painter's tape and figured that'll do!)
Optional supplies (that help A LOT):
a glass bottle of wine
a helper (if only as a singing companion, it helps to have company!)
I decided I wanted this skirt to be long. Like, draping on the floor. So, I took my measuring tape, held it at my waist and dropped it to the length I figured would be good. I think it was 29 inches. Next step is to double that length (to 58 inches) and tape the measuring tape to the dining room table. Then, I took the tulle and started measuring and cutting, and measuring and cutting,.... , and measuring and cutting! I did NOT keep track of how many cuts I made, but it was A LOT. Just turn that brain off and think Zen thoughts! Also a great time to blast some awesome tunes and sing along (if no one is listening ;))
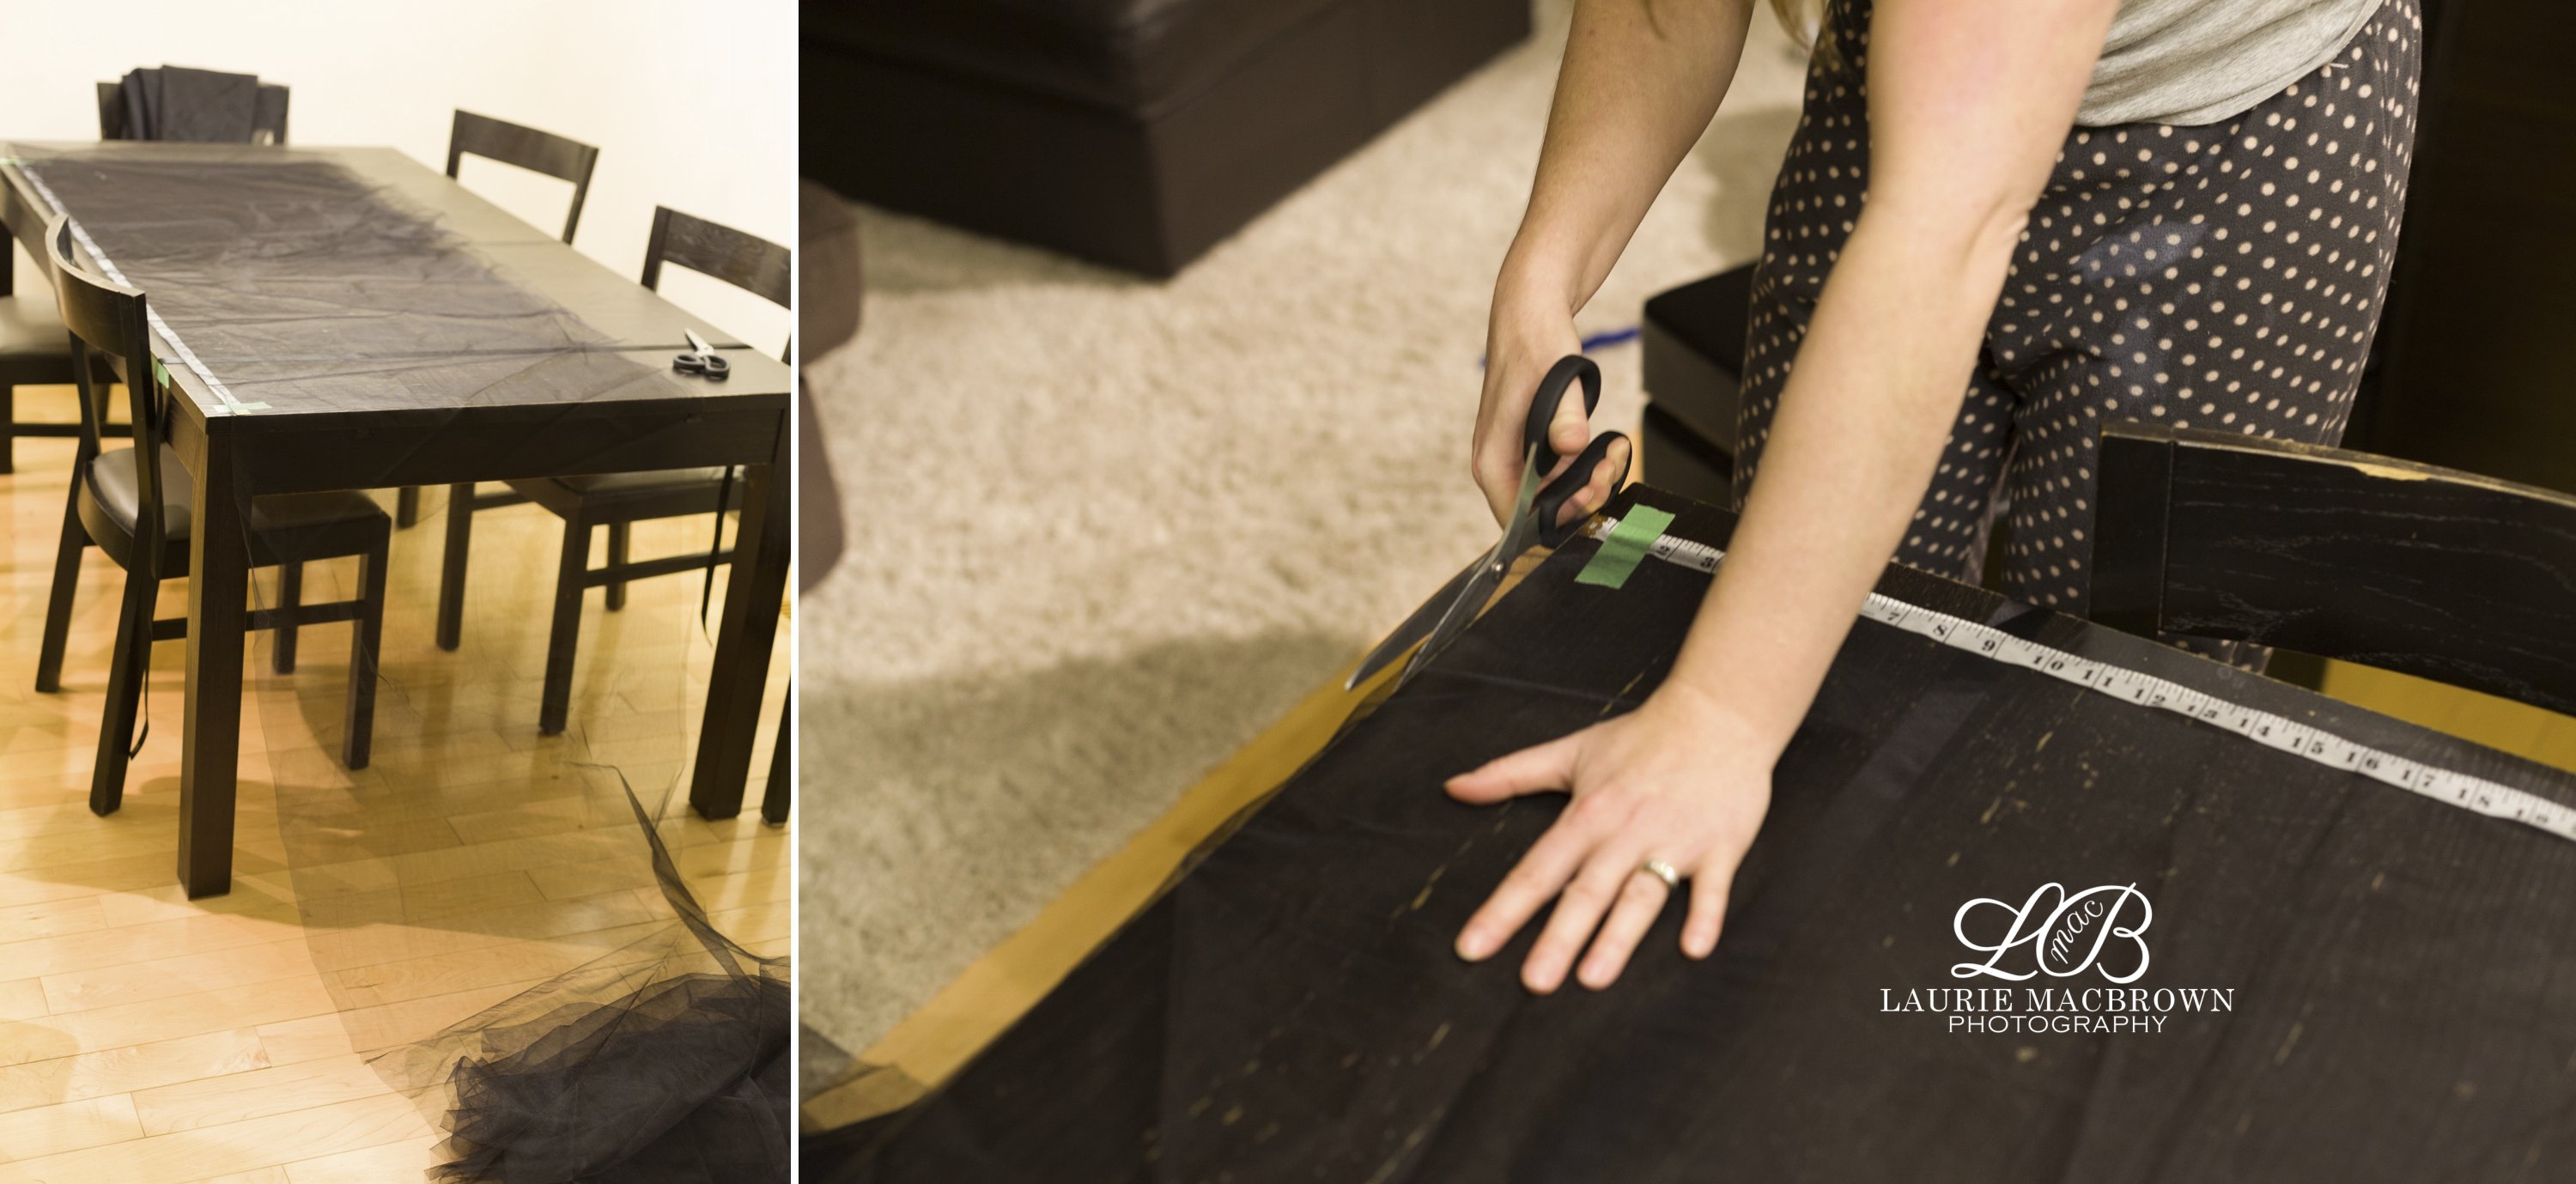
Once I had a sufficient mountain of cut tulle, I could proceed to the next step.
I measured my waist and fixed the measuring tape down at one end of the table, marking my waist measurement with tape. Then just above, I fixed my ribbon down, ensuring that the ends hung evenly on either side of the table. I chose to place the tape on the sides of the table for the ribbon, so that the tulle would not be coming into contact with the tape at all.
I layered several pieces of my cut tulle on top of each other until it seemed sufficiently opaque for my first section. I think you would need a thousand layers of tulle to achieve a fully opaque skirt. I decided I would plan to use an underskirt because I just don't have that much time or money to work on a million layers of tulle. I honestly can't remember how many layers I ended up using for each section (maybe five?), but keep in mind that it is doubled over, so just eyeball it. Then, I doubled the tulle over the ribbon repeated this until I filled the area of ribbon that represented my waist circumference. At this point, it's starting to ressemble something - this is exciting!
Once the waist was filled and spaced evenly, I started pinning it in place onto the ribbon, working from the outside-in.
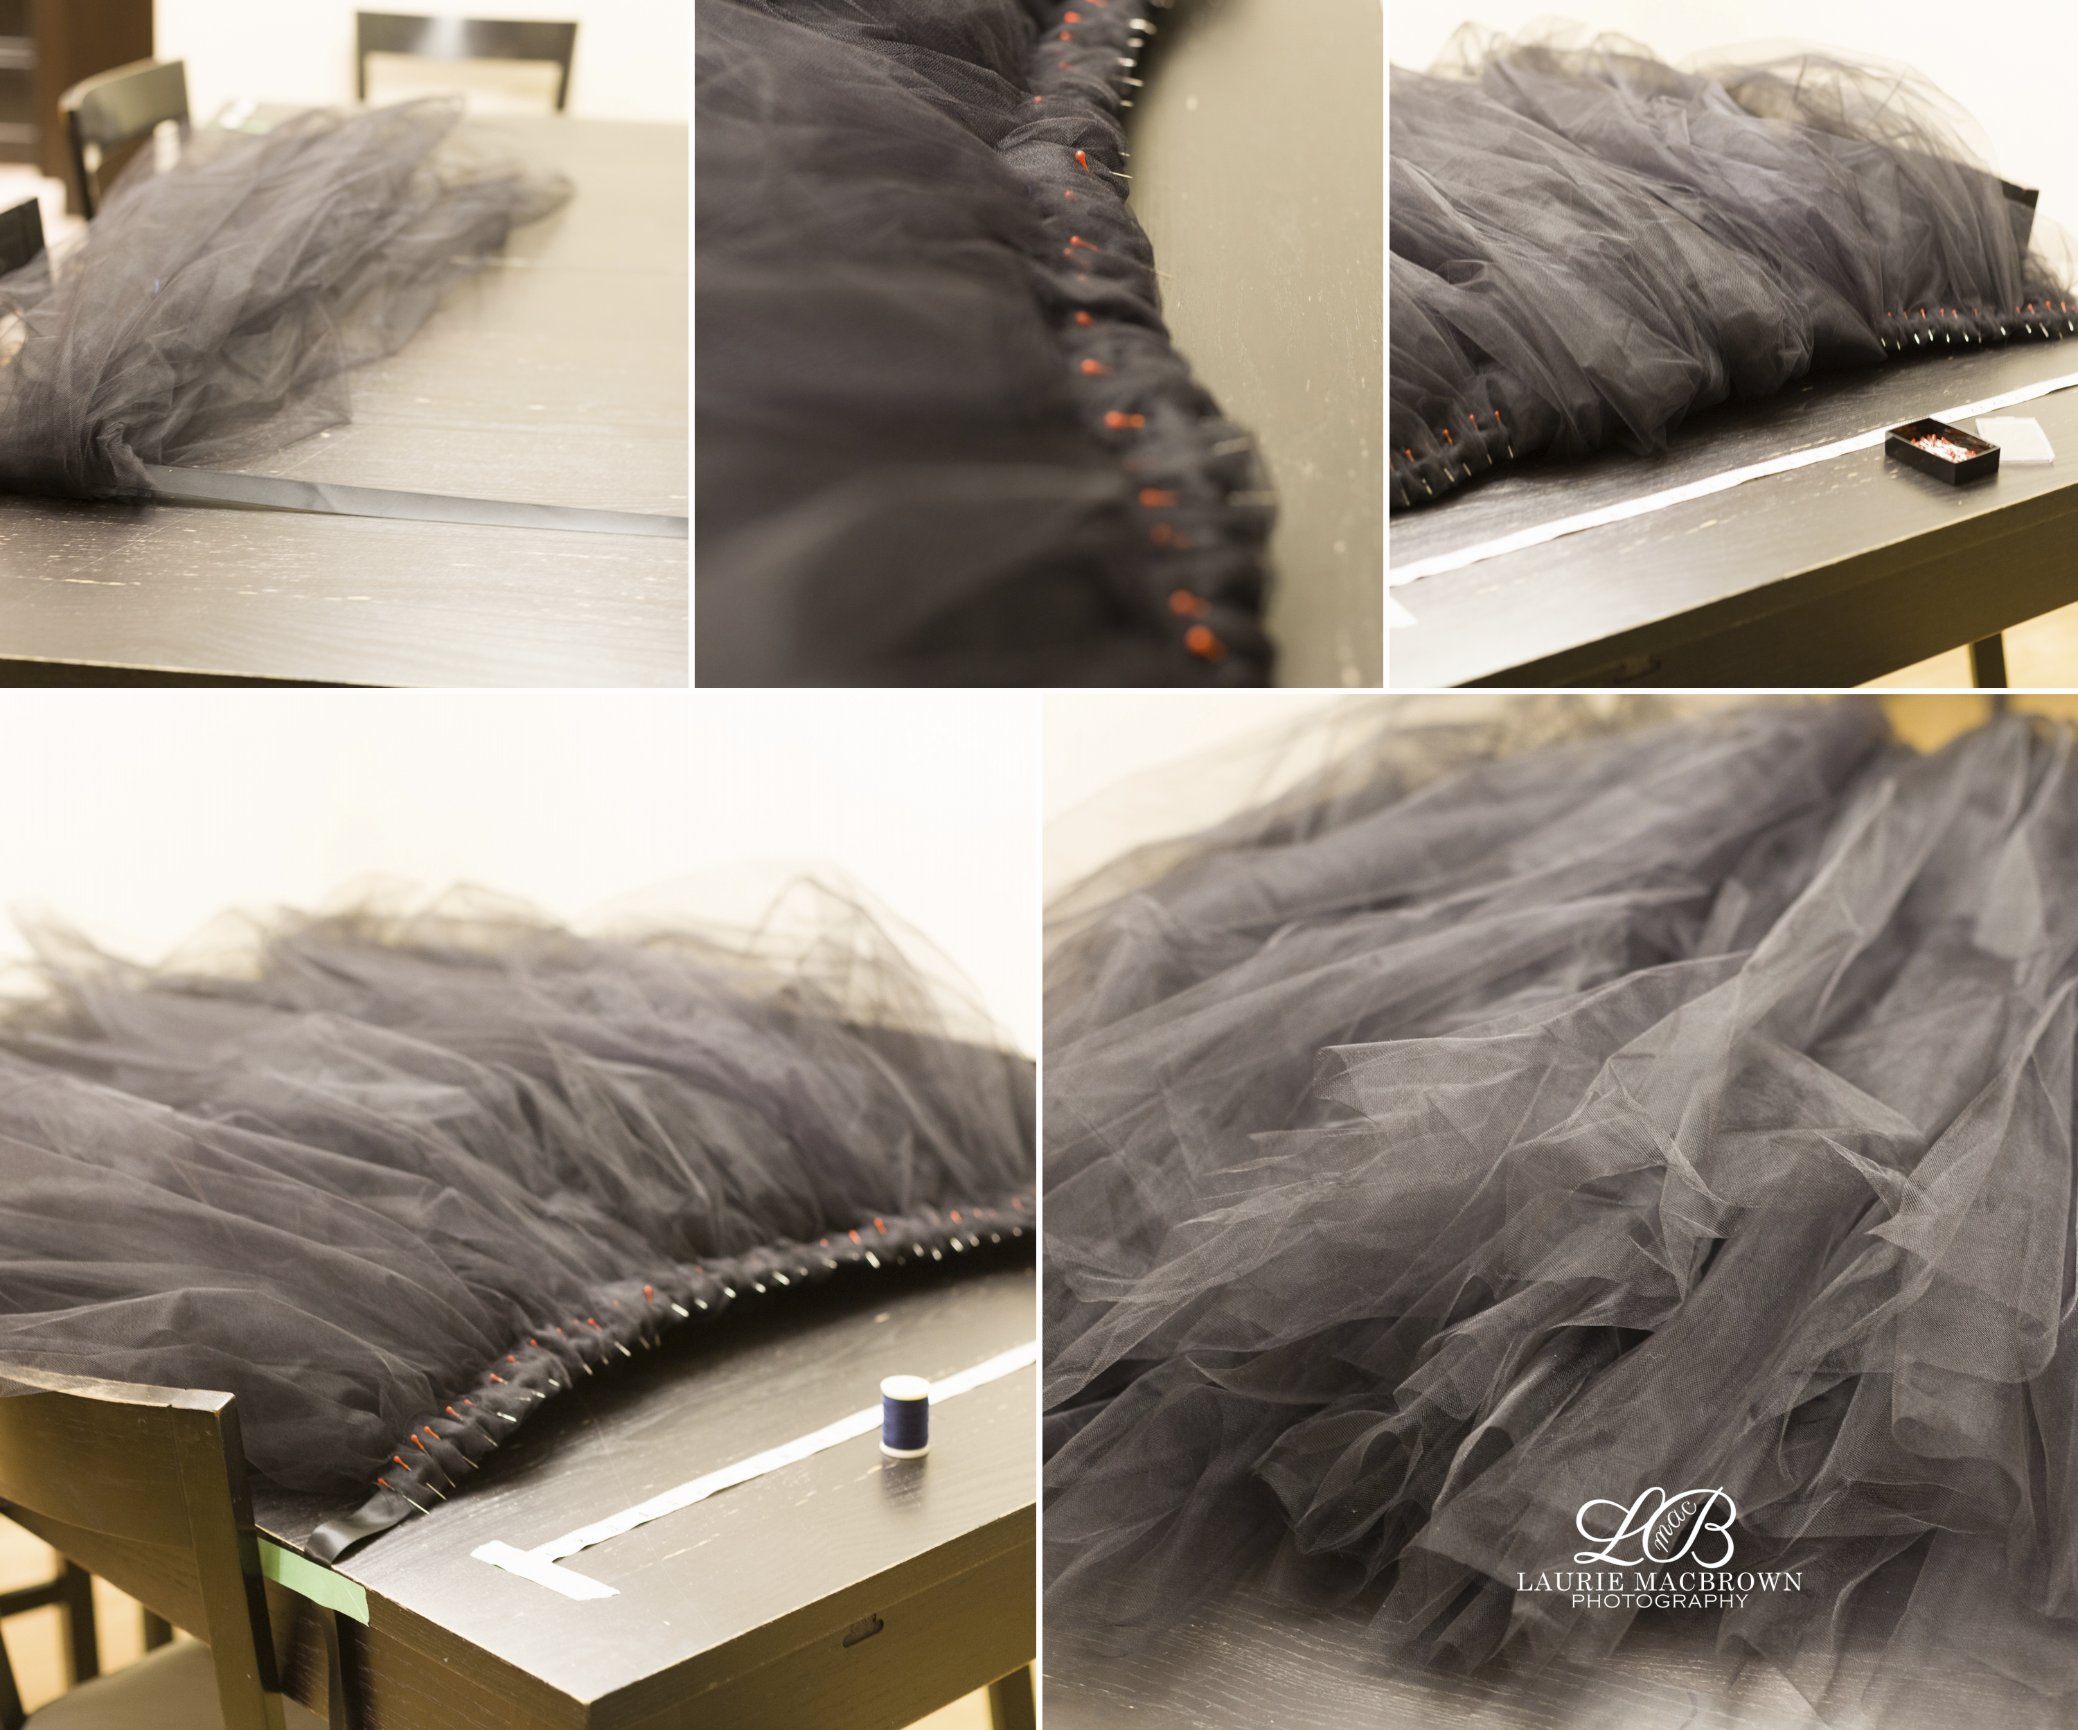
So, now is the point where I should have hauled my sewing machine out of the basement and dusted it off. It was late, I was tired, but I still wanted it get it done, so I opted to hand sew the tulle, just to save myself the hassle. I can sense my Mom's disappointment here. She loves her sewing machine and would happily get it out for such a simple project. I, on the other hand, often encounter frustrations with my entry-level sewing machine purchased at Costco, so I chose to leave it be in favour of working with the items I already had close-at-hand. Yup, I'm lazy. So, any way you choose, just ensure that the tulle gathers within the circumference of the waist measurement and sew it just below the ribbon. This is important because you want the ribbon to be adjustable to waists that are slightly smaller or larger. If you sew the tulle to the ribbon, you are committing yourself to that waist measurement. I don't want to do that. I want this skirt to be used by client's who are larger and smaller than me.
And that's it! Voila!
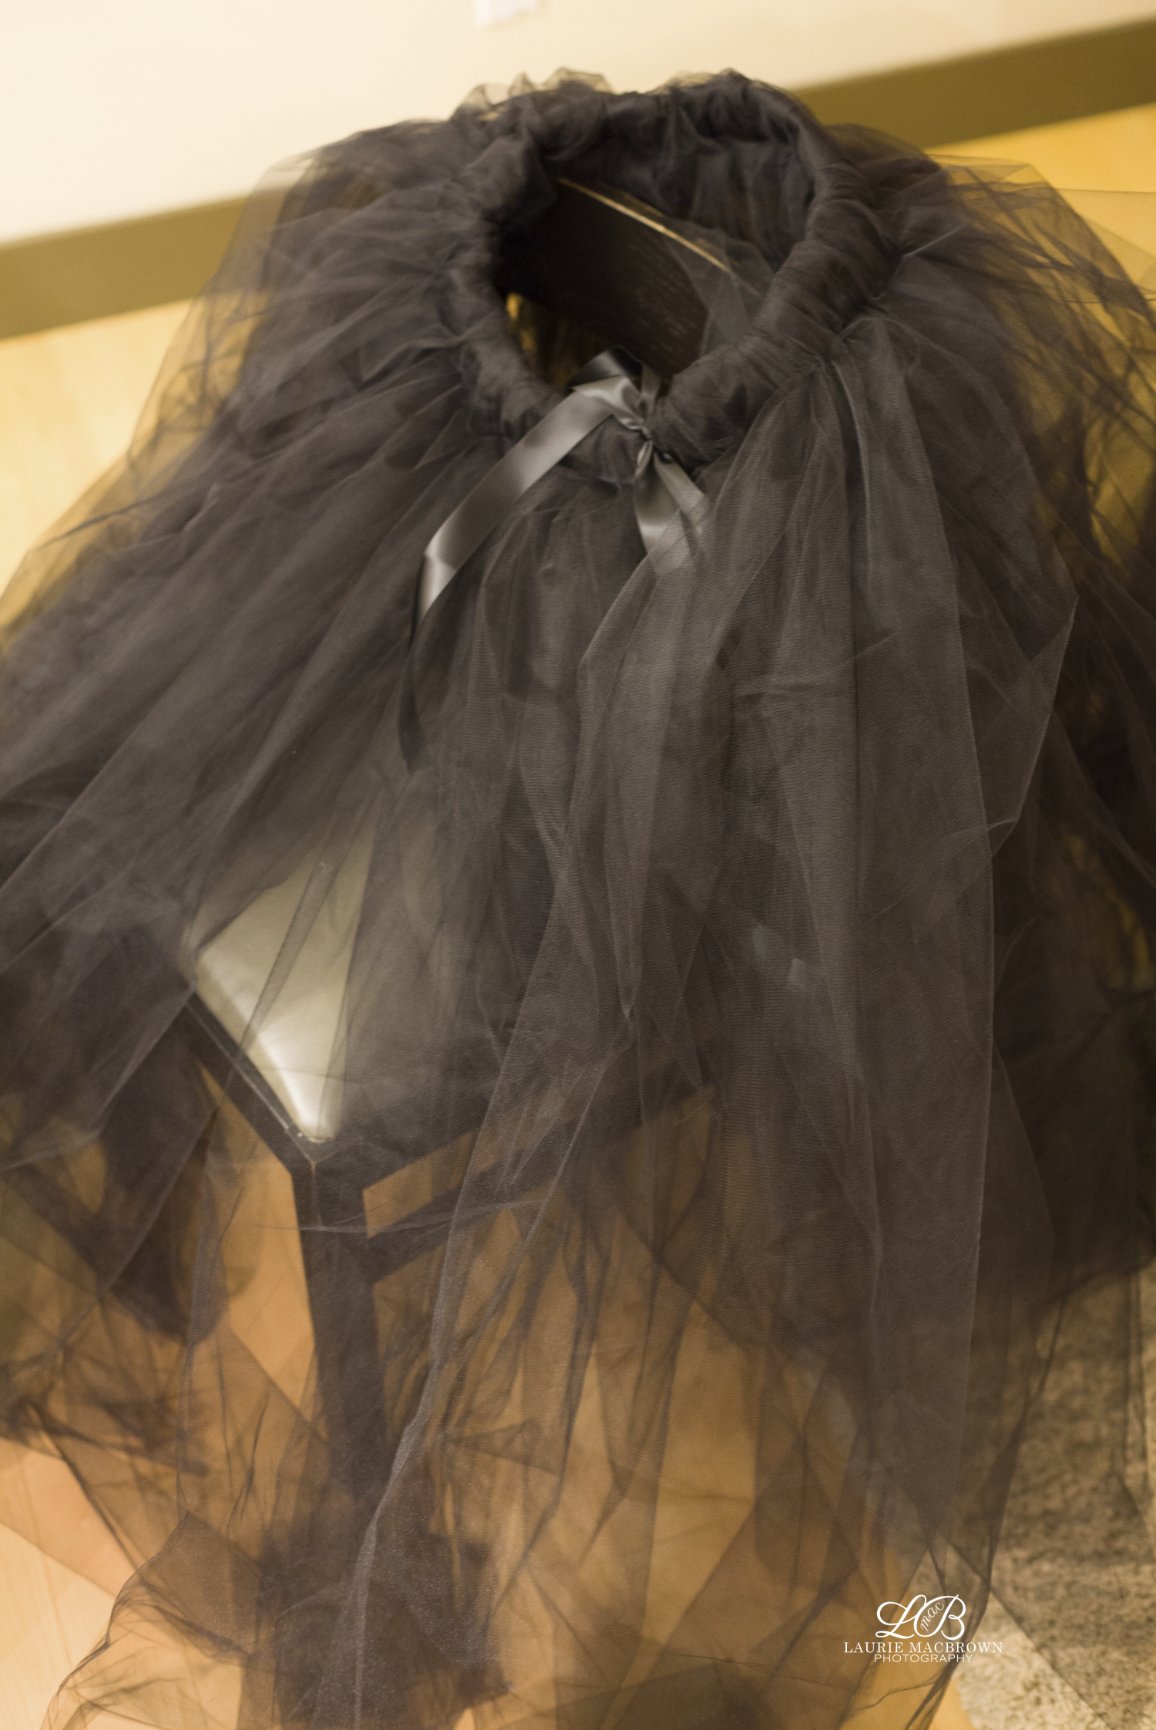 In conclusion, here is the reason why I started this project in the first place: to create a BEAUTIFUL image of a BEAUTIFUL woman.
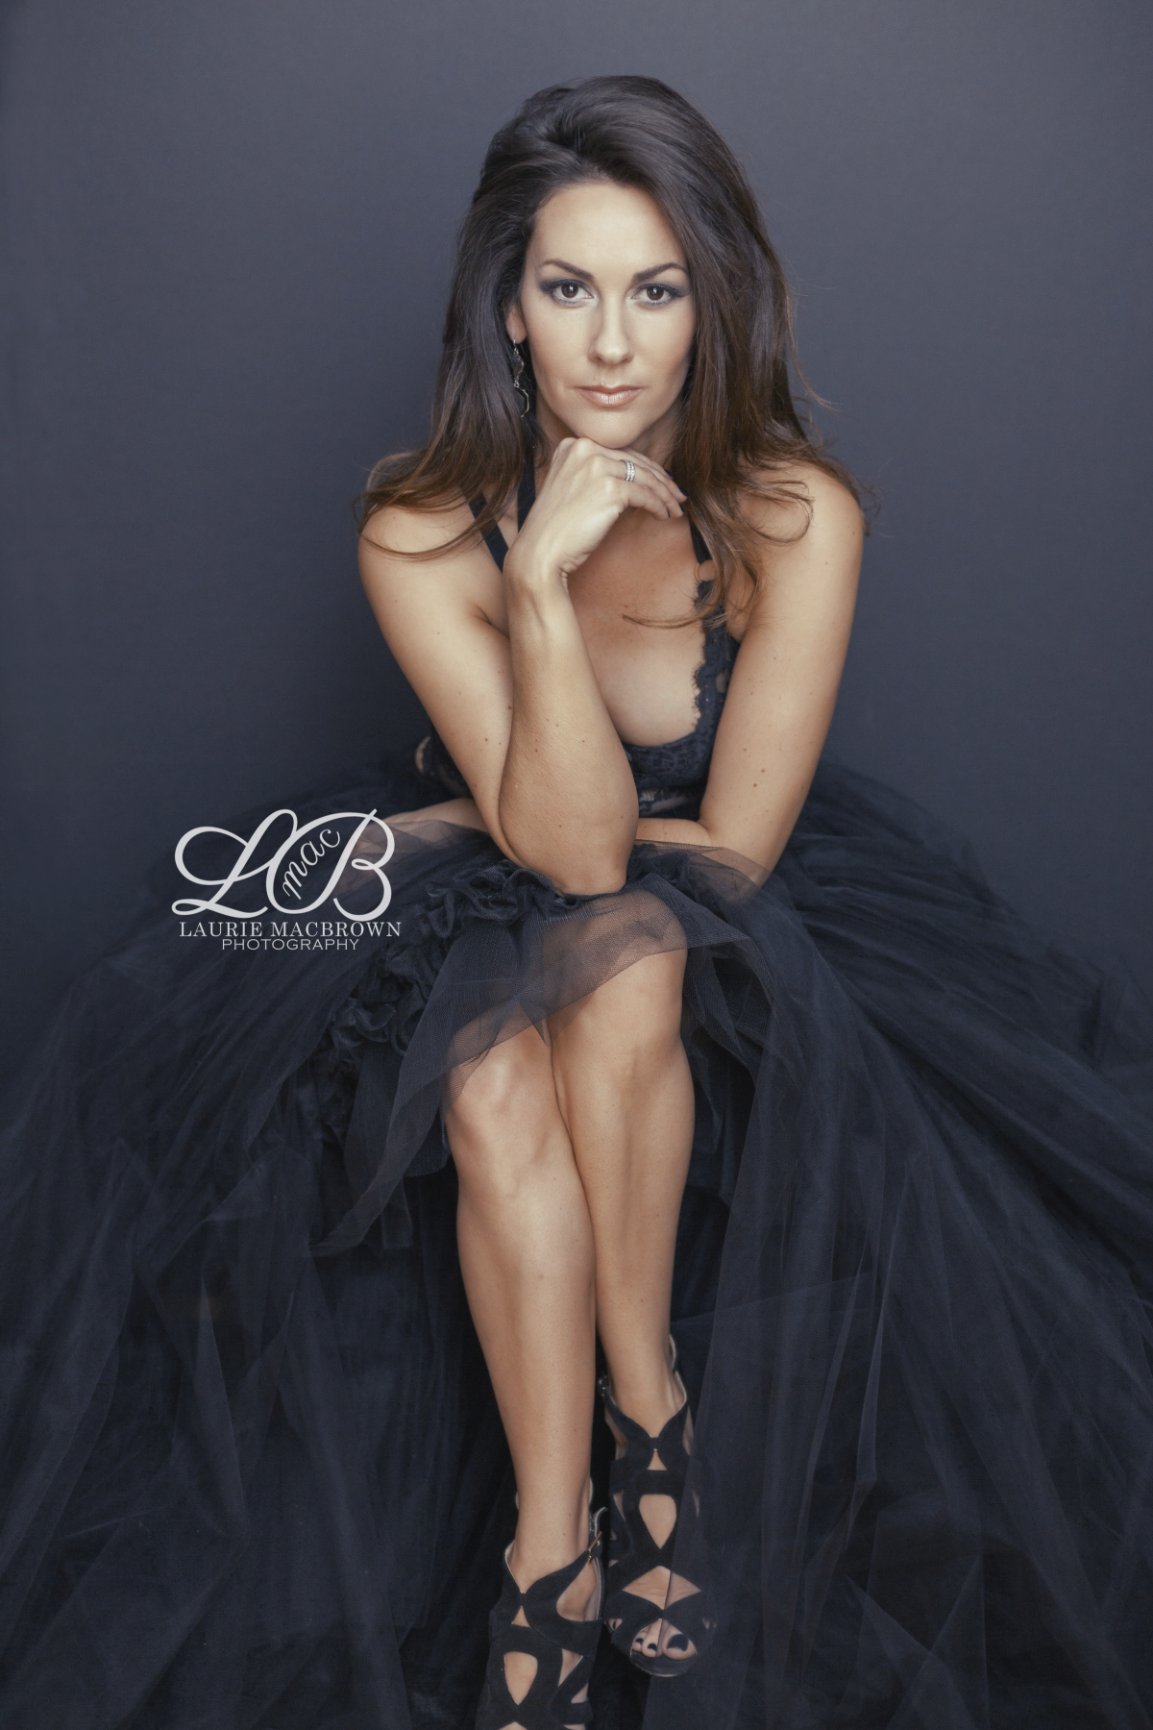
Was it worth it? Absolutely!
shoot.print.love.laurie

Leave a comment
0 Comments